
Air Fryers: Cleaning and Maintenance Tips
Air fryers have become one of the essential kitchen appliances these days. They allow you to cook crispy and delicious foods with less oil. While frying with these devices is significantly cleaner than deep frying, they require regular cleaning to maintain efficiency and prevent unpleasant odors. The good news is that cleaning an air fryer is not difficult at all!
- Why is Cleaning After Each Use Important?
Although washing the air fryer after each use may seem a bit time-consuming, believe me, it is much easier than dealing with old and hard grease stains.
Here are some simple steps that provide a practical solution for removing grease and cleaning your air fryer:
- Turn Off and Cool Down:
Always unplug the device before cleaning and wait for it to cool completely.
- Remove Detachable Parts:
Take out the basket and tray, then wash them with warm water and dish soap. If the parts are dishwasher-safe, you can use that as well.
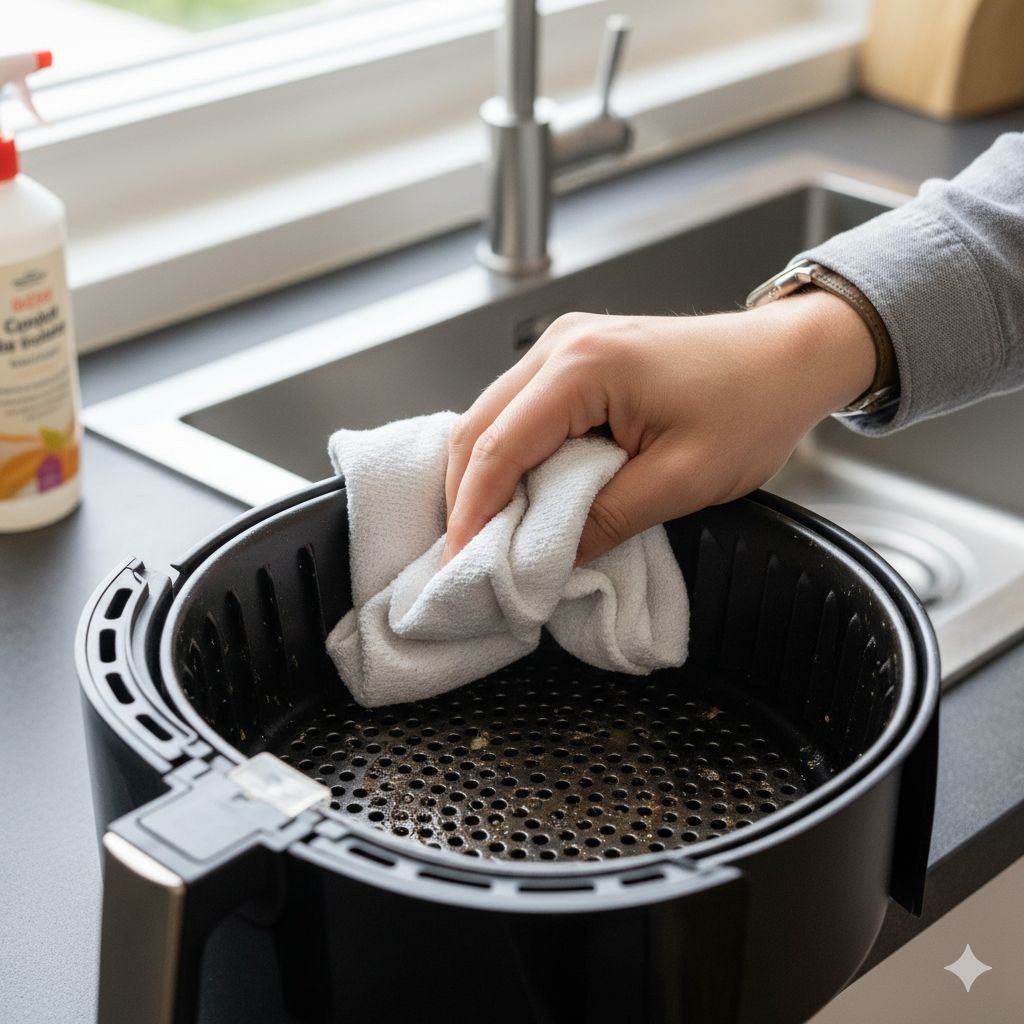
- Clean the Inside of the Device:
Use a sponge or damp cloth with a bit of dish soap to wipe away grease inside the appliance. Avoid using abrasive materials or steel wool to prevent damaging the non-stick coating.
- Ensure Complete Drying:
Either air-dry all parts or dry them with a clean towel before reassembling. This simple habit will reduce the need for deep cleaning and extend the life of your device.
- Using Baking Soda for Hard Stains
If you encounter burnt and hard grease stains, baking soda is your best solution.
Method:
- Mix one tablespoon of baking soda with a little water to form a thick paste.
- Apply the paste to hard stains or burnt areas in the basket.
- Wait for 15 minutes.
- Gently scrub with a soft brush or an old toothbrush.
- Rinse with a damp cloth or warm water.
Baking soda is a natural, safe, and non-toxic substance that effectively removes grease without harming the device.
- Using Perforated Parchment Paper or Silicone Liners
To prevent excessive mess, you can use perforated parchment paper or silicone liners before cooking.
- Perforated Parchment Paper:
This allows air circulation while preventing grease from dripping onto the basket. Ensure the paper is securely placed so it doesn’t stick to the heating element.
- Silicone Liners:
Reusable silicone liners are eco-friendly and dishwasher-safe. Note that using aluminum foil is not recommended, as it may cause overheating of the device.
- Soaking Detachable Parts for Deep Cleaning
If grease and food particles do not come off with regular washing, soaking the parts is the best option.
Method:
- Fill a sink or large bowl with warm water and a little dish soap.
- Add a few drops of vinegar or baking soda to enhance cleaning power.
- Soak the basket and tray for 20 to 30 minutes.
- Then scrub with a soft sponge and rinse.
- Ensure they are completely dry before placing them back in the device.
- Cleaning the Heating Element with a Soft Brush
One part that is often overlooked is the heating element of the device. Grease buildup in this area can cause smoke, unpleasant odors, and even reduce efficiency.
Method:
- Turn the device upside down on a clean cloth.
- Use a soft brush or toothbrush to remove food particles.
- Wipe the heating element with a damp cloth using water and soap.
- If there’s significant grease buildup, use the baking soda paste (as described in section 2).
- Ensure that the heating element is completely dry before using it again.
- Polishing the Exterior of the Device
While most dirt accumulates inside, the exterior can also collect fingerprints and grease stains.
Use a damp microfiber cloth with a bit of dish soap to wipe down the surface, paying special attention to buttons and displays. Finally, dry with a towel to avoid water spots.
Conclusion
A clean air fryer not only looks better but also performs better and makes tastier food. By following these tips, your air fryer will have a longer lifespan and higher efficiency.